How to Use Mountain Gu
A quick walkthrough of every screen — gear checklist, climb details, and meal planning.
1Set up your trip
Open the app and start by naming your trip in the field under the header (e.g. "Mt. Fuji 2026"). This title is used in your exported checklist and is saved automatically as you work.
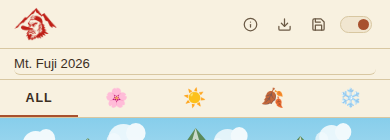
The season tabs (All / Spring / Summer / Autumn / Winter) filter the gear checklist to season-appropriate items. Pick a season to narrow down the list, or stay on "All" to see everything.
2Fill in Climb Details
This is the default screen when you open the app. Enter your mountain, start and end dates, jump-off/exit points, and the weather you're expecting.
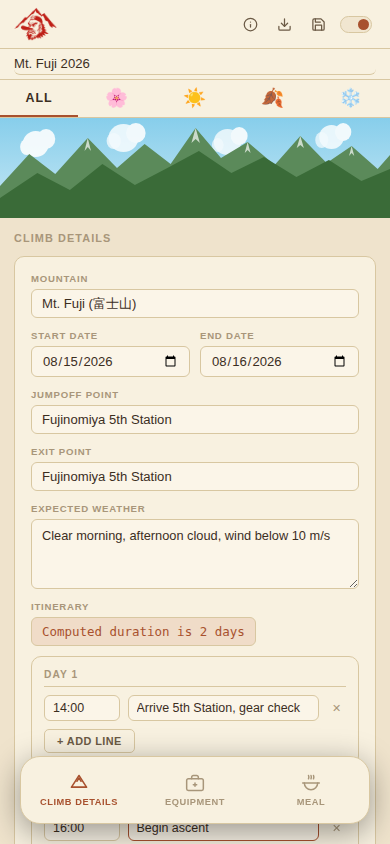
Itinerary builds itself
Once you set both a Start Date and End Date, Mountain Gu automatically computes your trip duration and creates a day-by-day itinerary section underneath. Add as many time/activity lines as you need per day — each line has its own remove button if plans change.
3Pack your gear
Switch to the Equipment tab at the bottom. Tap anywhere on the empty pack area to open the full gear list, organized by category (Navigation, Footwear, Clothing, and more).
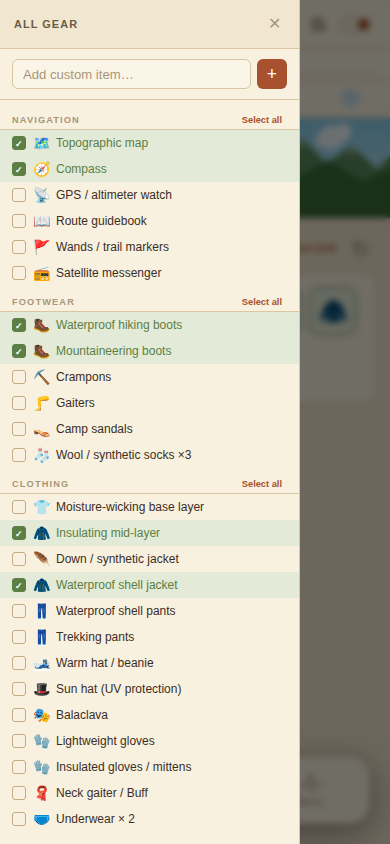
- Tap any item to check it off — it turns green and gets added to your pack.
- Use Select all on a category header to check (or uncheck) everything in that group at once.
- Add anything not on the list using the Add custom item… field at the top of the drawer.
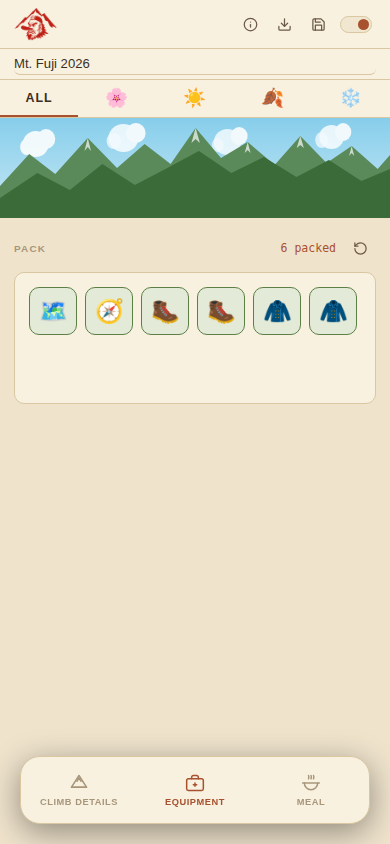
Close the drawer and you'll see your packed items as a row of bubble icons, with a live count of how many items you've packed.
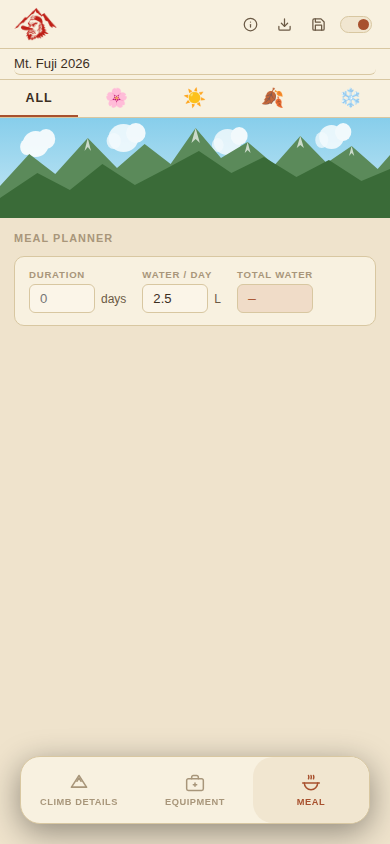
4Plan your meals and water
The Meal tab calculates your total water needs from your trip duration and a water-per-day estimate, and gives you a day-by-day meal planner (breakfast, lunch, dinner, snacks) to fill in.
5Save, restore, and export
Your progress saves automatically to your device's browser storage — there's no account or sign-in. The icons in the top-right of the header let you:
- About (ⓘ) — view app info and manage your saved data.
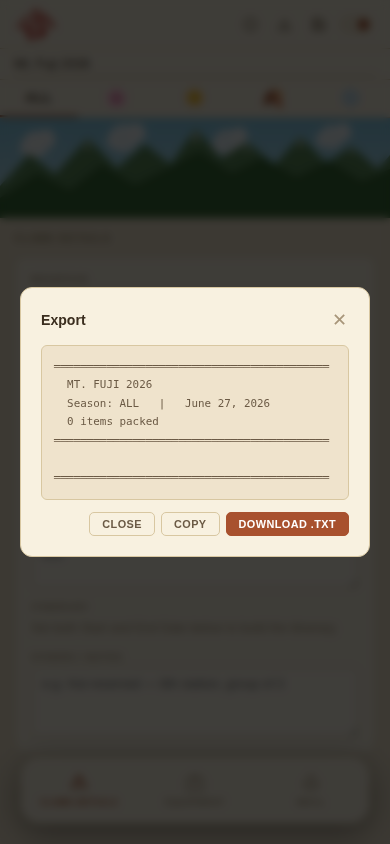
- Export (↓) — download your checked gear, climb details, and notes as a plain text file. Unchecked items and empty sections are left out, so your export stays clean.
- Save (🖬) — manually save your progress; you'll see a brief green checkmark confirming it saved.
- Theme toggle — switch between light (parchment) and dark mode.
If Mountain Gu finds a previously saved trip when you open the app, it will offer to restore it automatically.
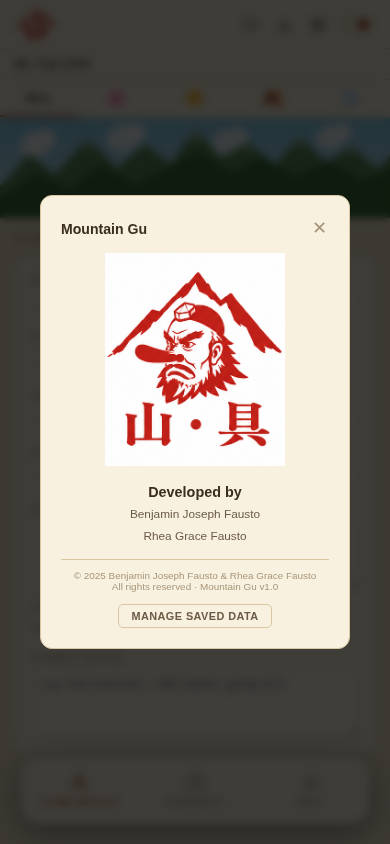
From the About modal, tap Manage saved data to see when your trip was last saved, or to permanently delete it from your device.